

Process Journal — Introducing Texture to Photography
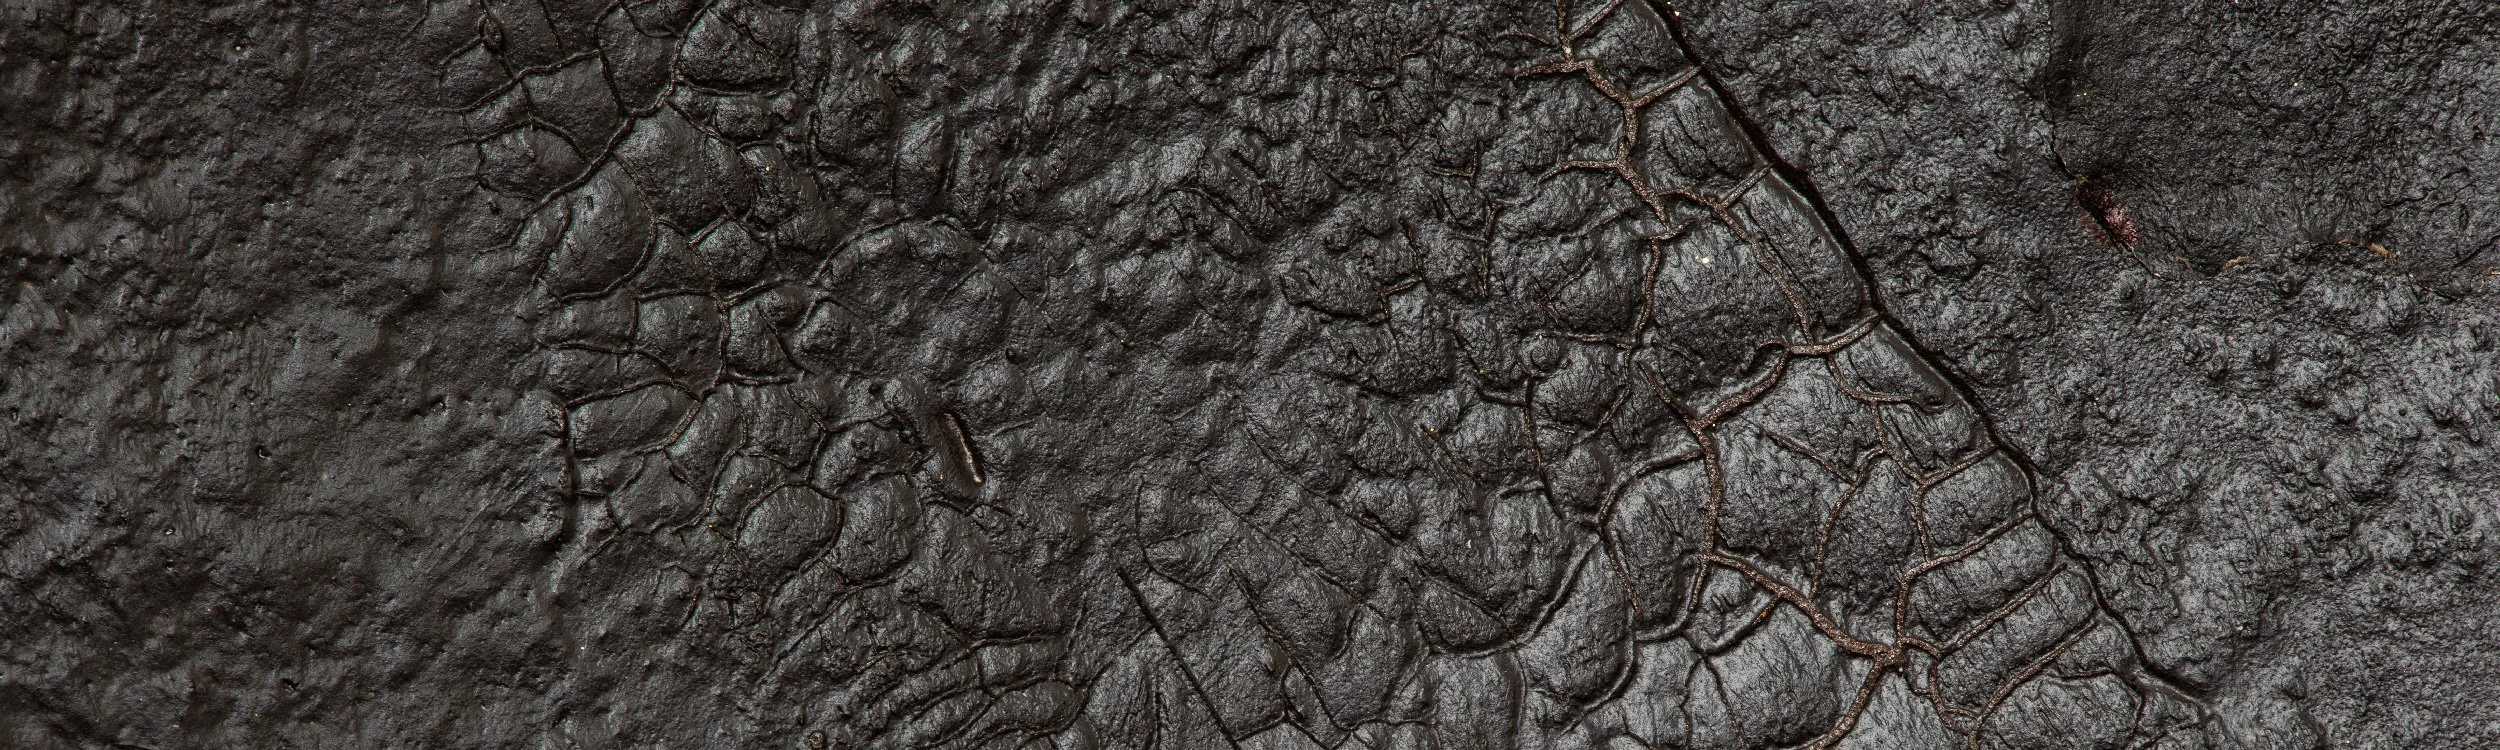
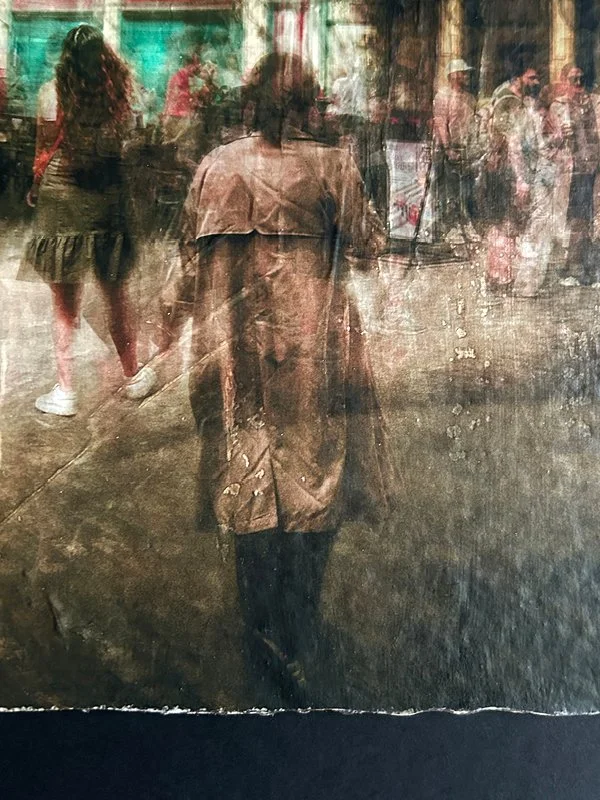
This work begins with a simple question: what happens when a photographic print stops behaving like a smooth surface and starts acting like a material object? Texture shifts attention from what is seen to what is felt. The print starts to carry more than the image itself. Light no longer sits cleanly on top; it breaks, settles, and moves through the surface. Time becomes part of the material rather than something outside it.
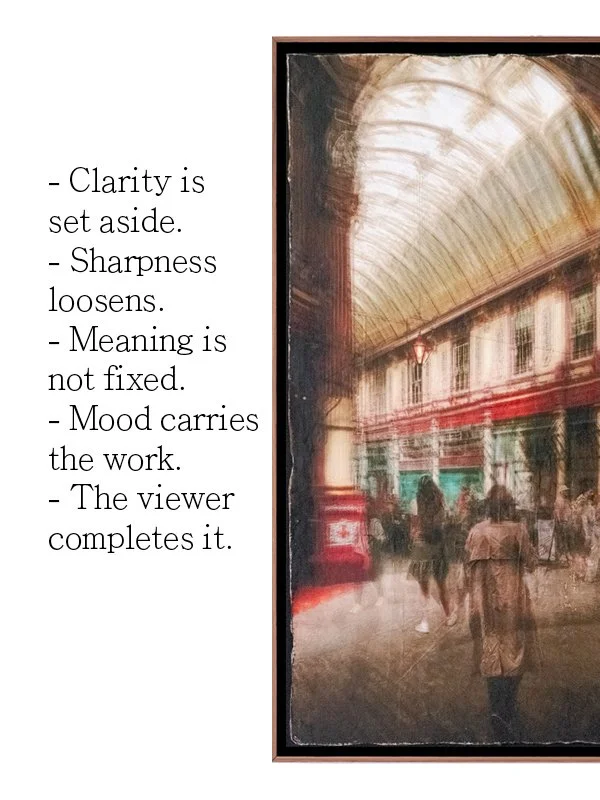
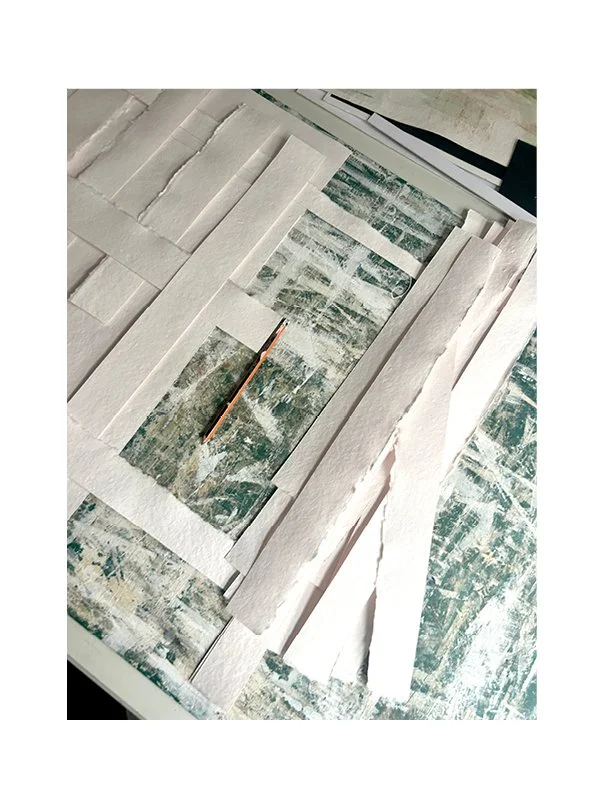
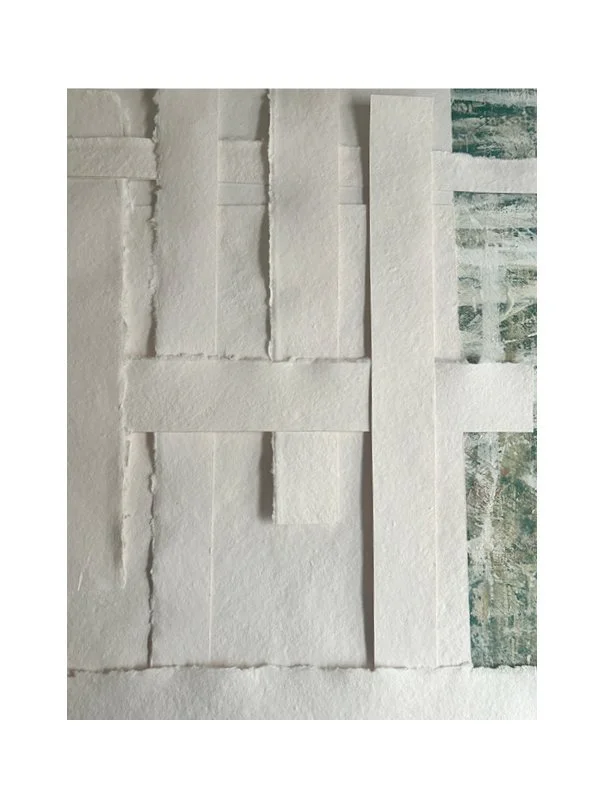
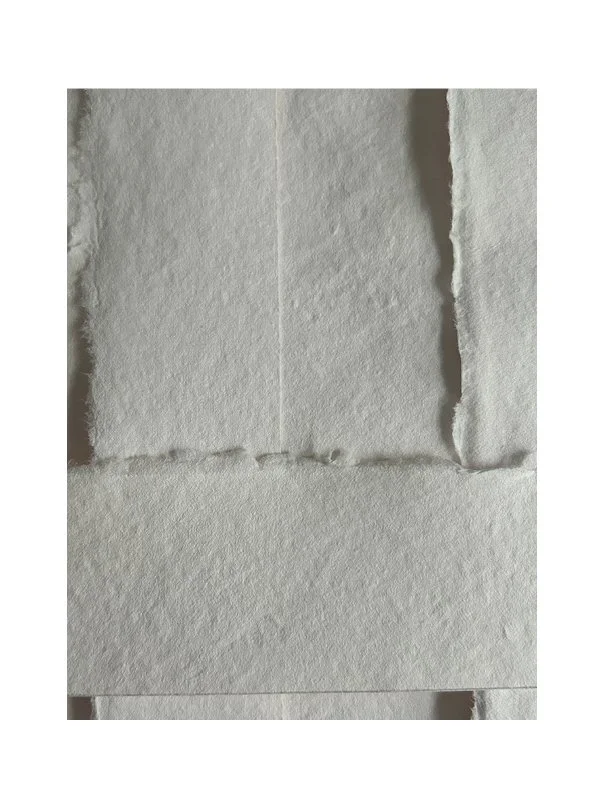
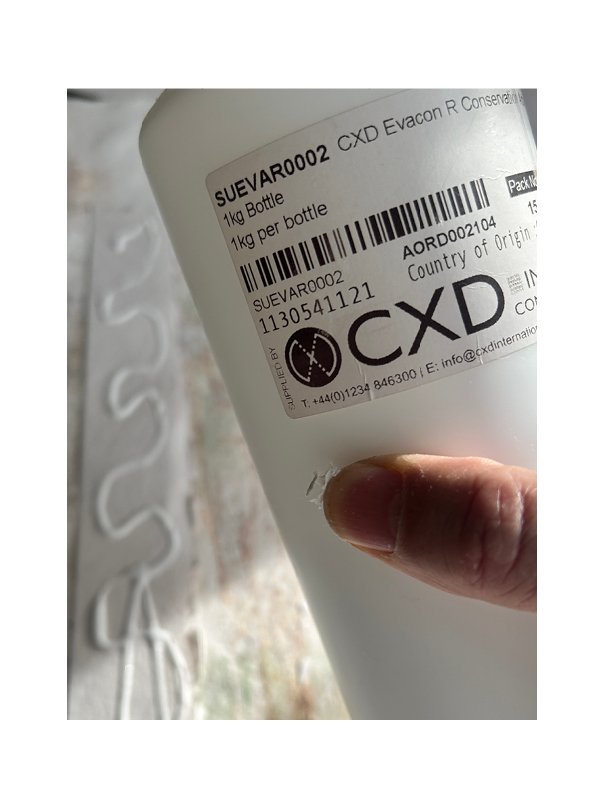
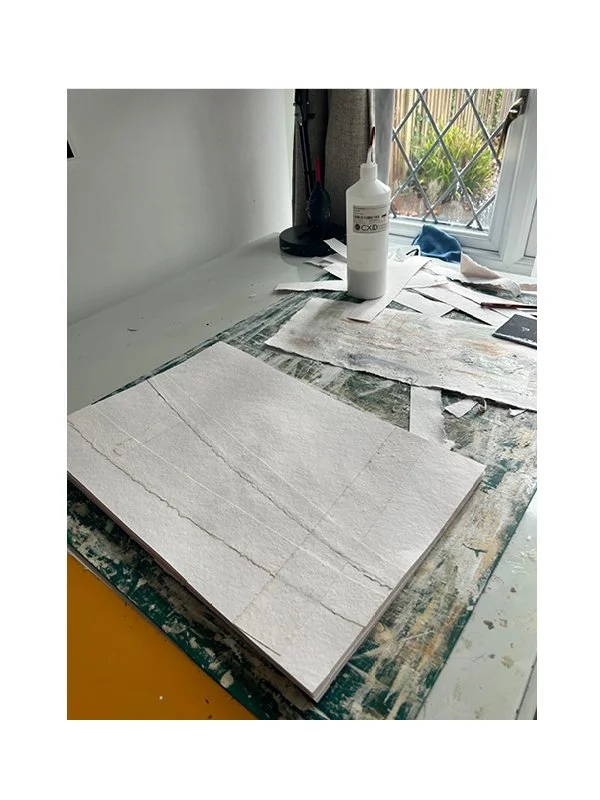
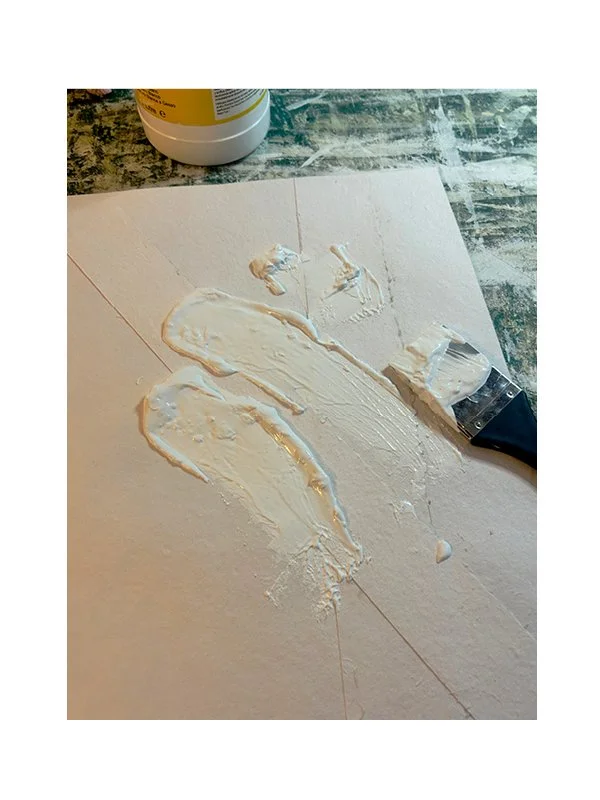
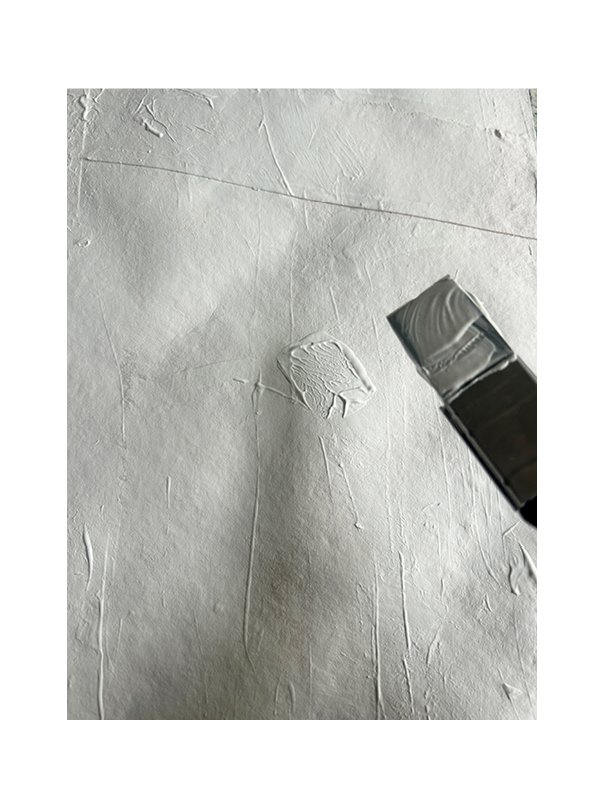
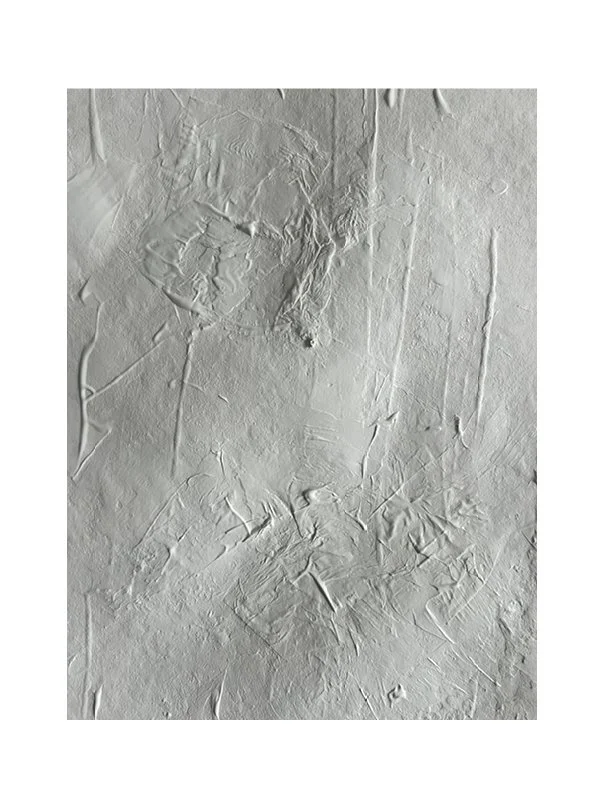
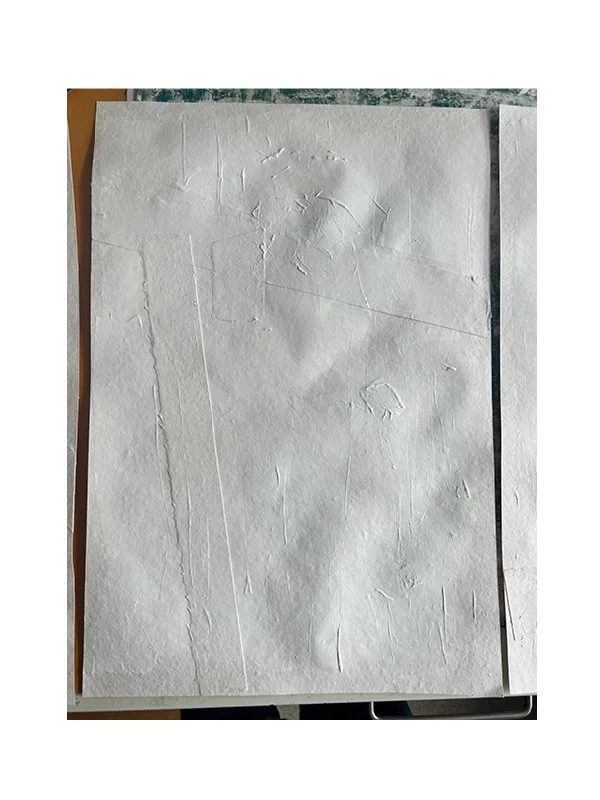
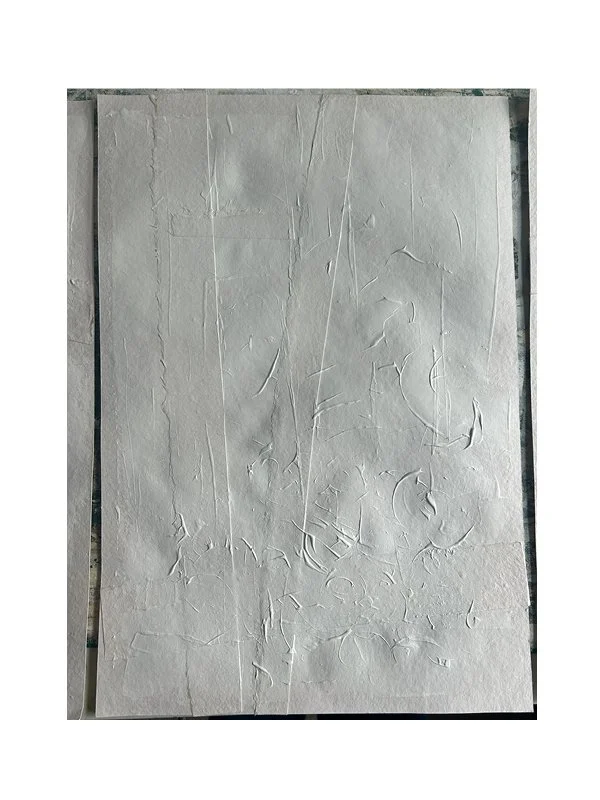
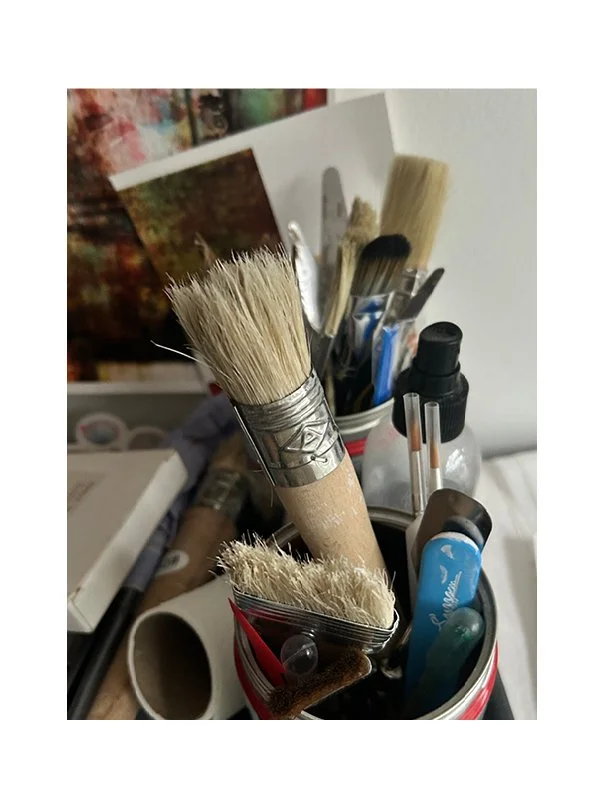
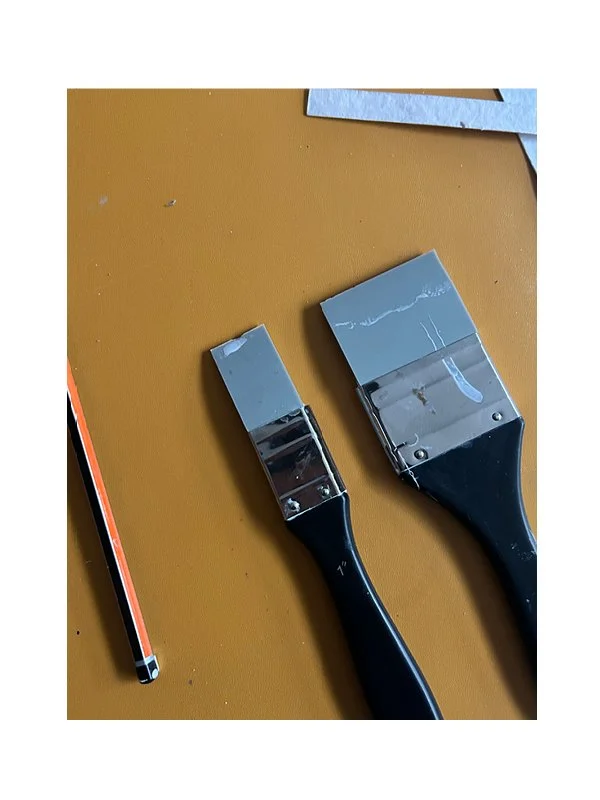
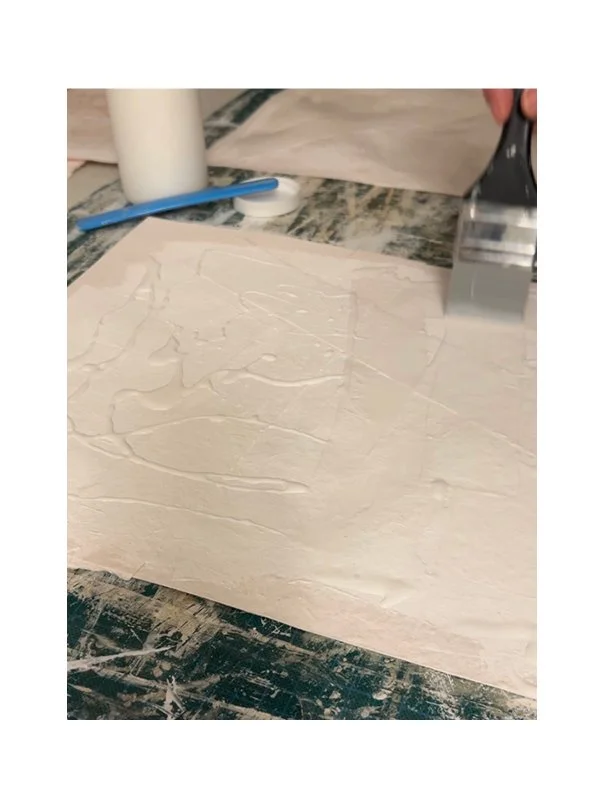
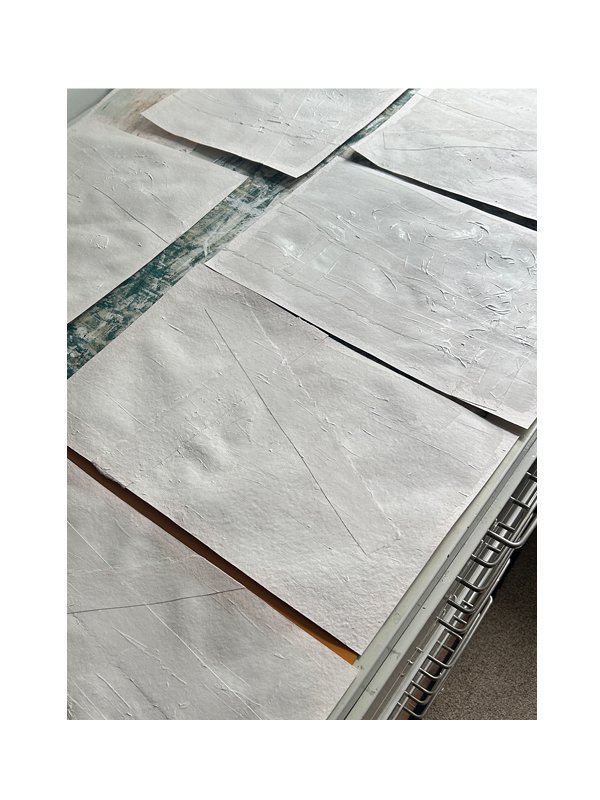
The process is experimental and alternative by nature. Results are rarely consistent. Difference is preferred over uniformity. Clarity softens, sharpness loosens, and meaning stays open. Mood carries the work forward, and the viewer completes it through looking. The surface is built slowly. I often start from scrap, cutting, ripping, and reassembling acid-free papers. Layers are arranged in response to the image I plan to print, not as decoration but as structure. Acid-free glue binds everything together. Thickness and weight are controlled carefully, knowing that more layers will follow. Sheets are built to standard sizes and left to bond and flatten. Once stable, gesso is applied. Sometimes it’s brushed evenly, sometimes not. Any tool that leaves a mark, or avoids one is valid. The sheets dry for a day or two, then rest under carpet to settle again. This back-and-forth between building and flattening repeats throughout the process. A final emulsion layer is added to make the surface receptive to inkjet printing. Pigment printers are essential here, both for durability and image quality. At this point, only the paper exists, the image comes later. Each layer needs time. Rushing leads to bubbling, cracking, or failure. Everything used is archival and acid-free, which adds cost, but also responsibility. Each sheet is treated as a finished object before it ever carries an image. Once dry, the surface can already be printed on. Technically, printing can happen on almost anything. I add another emulsion layer for longevity, stability, and the way it holds pigment.
The core of the work still sits with photography. Without the captured image, there is nothing to build on. The camera usually comes first, sometimes re-entering later. I’m drawn to unconventional approaches, not to reject photography, but to stretch it. The images that emerge are shaped by experience and influence, but they remain interpretations rather than documents. There is no single method. Each photograph and print evolves through trial, adjustment, and response.
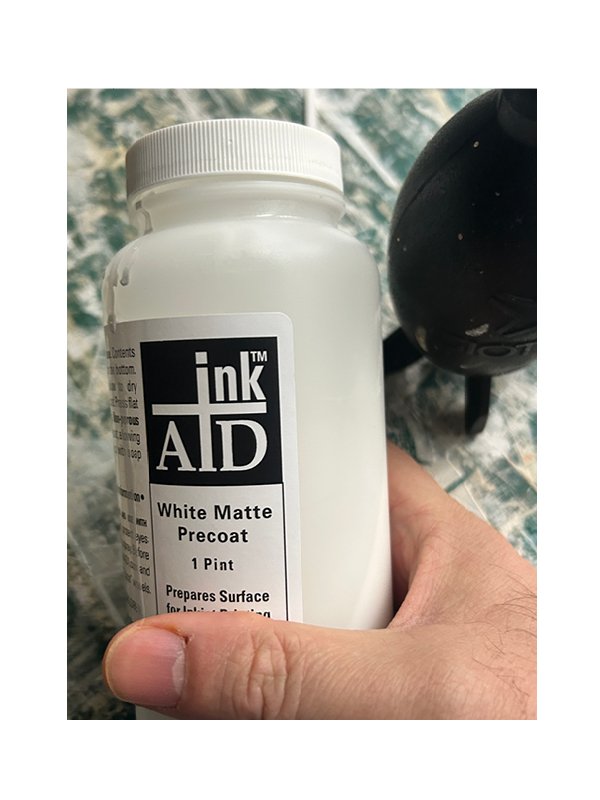
Back in the print stage, emulsions come with their own limits. There are many types, each behaving differently. When I contacted InkAid, the message was direct: this is an experimental process, and outcomes depend entirely on how you work. No profiles, no guarantees beyond archival stability with pigment printers. That honesty mattered.
I’m not sponsored. What’s described here is simply how I work. If it’s useful, good. If not, the same advice applies: this is experimental.
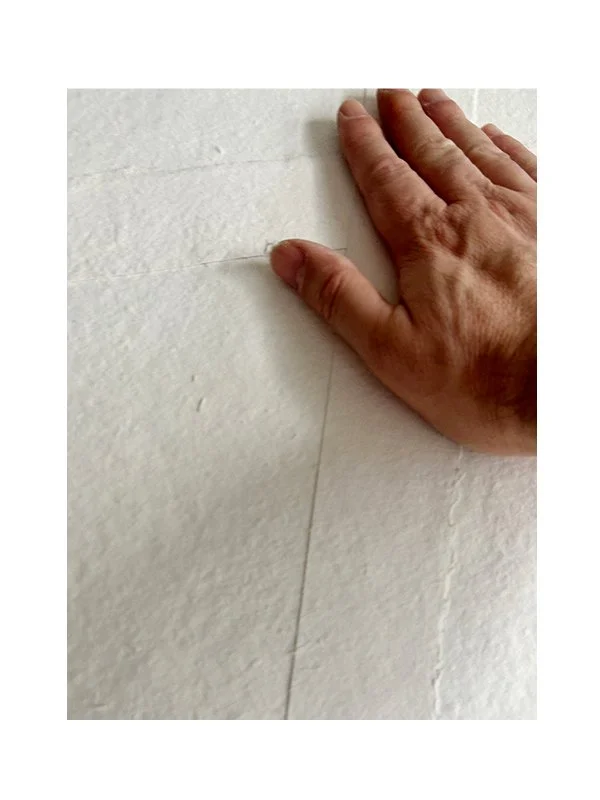
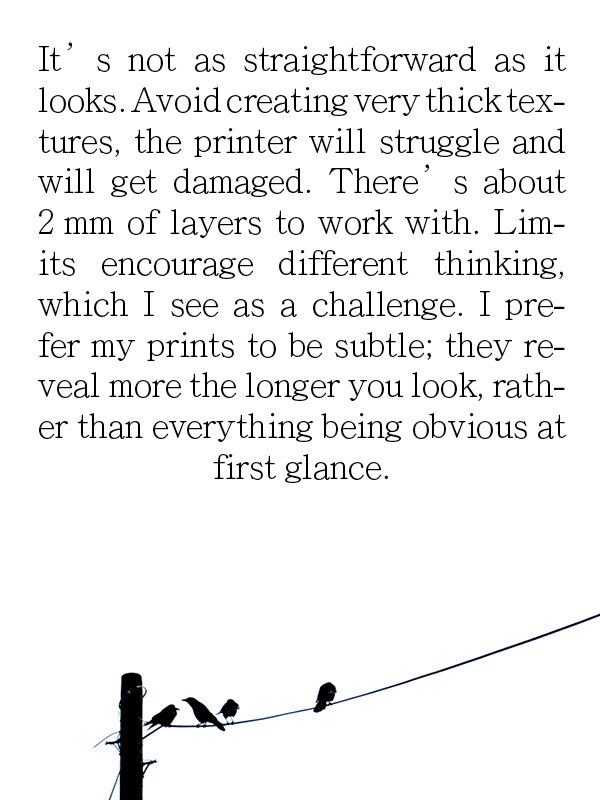
There are practical limits. Heavy texture will cause problems. Printers are not built for deep relief. Around 2 mm of layered depth is workable. Beyond that, failure is likely. Those limits shape decisions. I tend towards subtlety. The work isn’t meant to reveal itself immediately. It asks for time. The longer you look, the more it gives back. This is an ongoing process rather than a fixed method. What’s described here so far covers the construction of a unique, archival, acid-free sheet of paper, prepared and ready for print. The remaining and equally important stages—printing, retouching, varnishing, bonding, and framing—complete the work and play a key role in its final appearance and long-term durability. These will be added in the near future.
If you have questions, observations, or want to discuss any part of the process in more detail, feel free to get in touch. Exchange is part of how the work continues to evolve. I believe in sharing knowledge, as one never knows where an idea might come from.